In recent years we’ve worked with teams that rely on a GitOps approach to managing application infrastructure.
For teams that are used to the continuous delivery of application infrastructure defined in Git, the manual orchestration required to launch environments can be frustrating.
Particularly when environments require multiple infrastructure assets, application services, and other resources defined in different IaC or Kubernetes tools, orchestrating and validating that environment can be complex and time-consuming—creating delays and pulling developers away from the GitOps motion that helps them move faster.
In this article we’ll show how our users can define and launch complete environments in a GitOps approach while gaining visibility into the expected impact of changes to application infrastructure.
Step 1. Design your environment with Torque’s native & user-provided IaC & Kubernetes assets
This process would break down if your developers or DevOps engineers need to create new resource configurations manually.
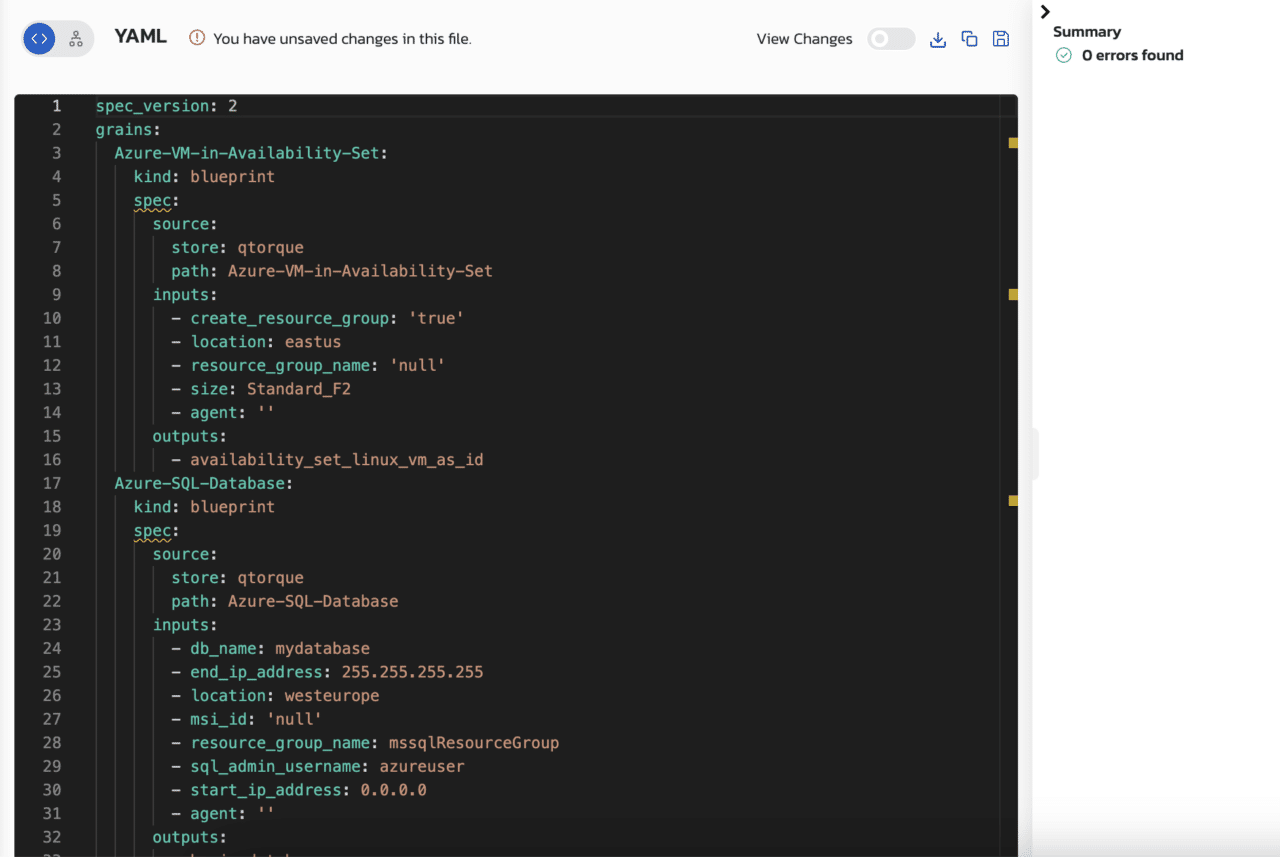
To define environments, Torque creates YAML files containing code for all the infrastructure, application services, and parameters to launch an environment. These YAML files are called “blueprints” in our platform.
Our users create blueprints by adding existing definitions of infrastructure and application services defined in IaC or Kubernetes to the environment design, then setting the dependencies and parameters to define the environment’s launch plan.
To help accelerate the process, Torque provides a collection of out-of-the-box IaC and Kubernetes resources that our users can leverage to build a functional environment.
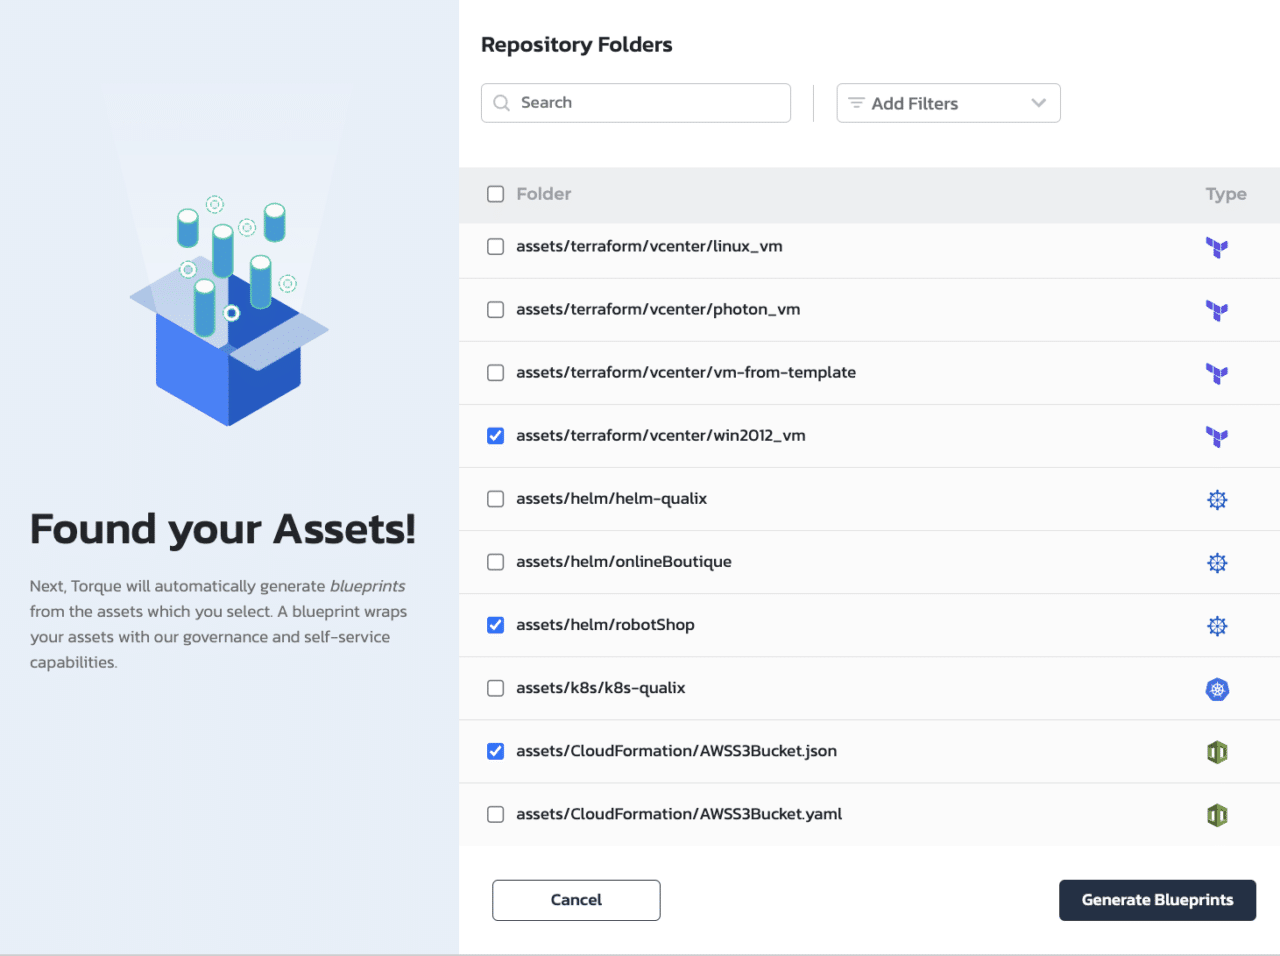
To leverage your existing IaC and Kubernetes resources, enter the URL for your Git repository in your Quali Torque account. The platform will automatically discover the IaC modules and other resources in your repository, including those defined via Terraform, CloudFormation, Helm, Kubernetes, and Ansible.
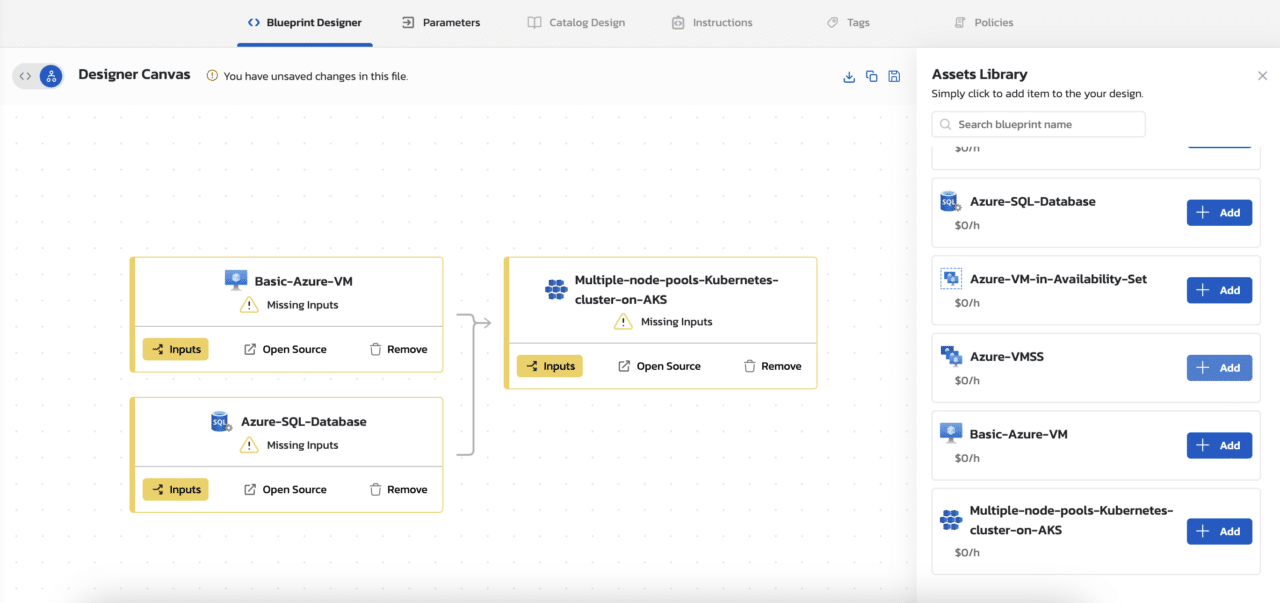
To start, navigate to the Blueprints page in your Torque account, select “New Blueprint” and set a name for your environment. That will bring you to the Designer Canvas.
Using Torque’s Designer Canvas, you can find all resources represented as visual “building blocks” in the Asset Library.
From the Designer Canvas, you can click to add individual assets to your environment and set dependencies between them.
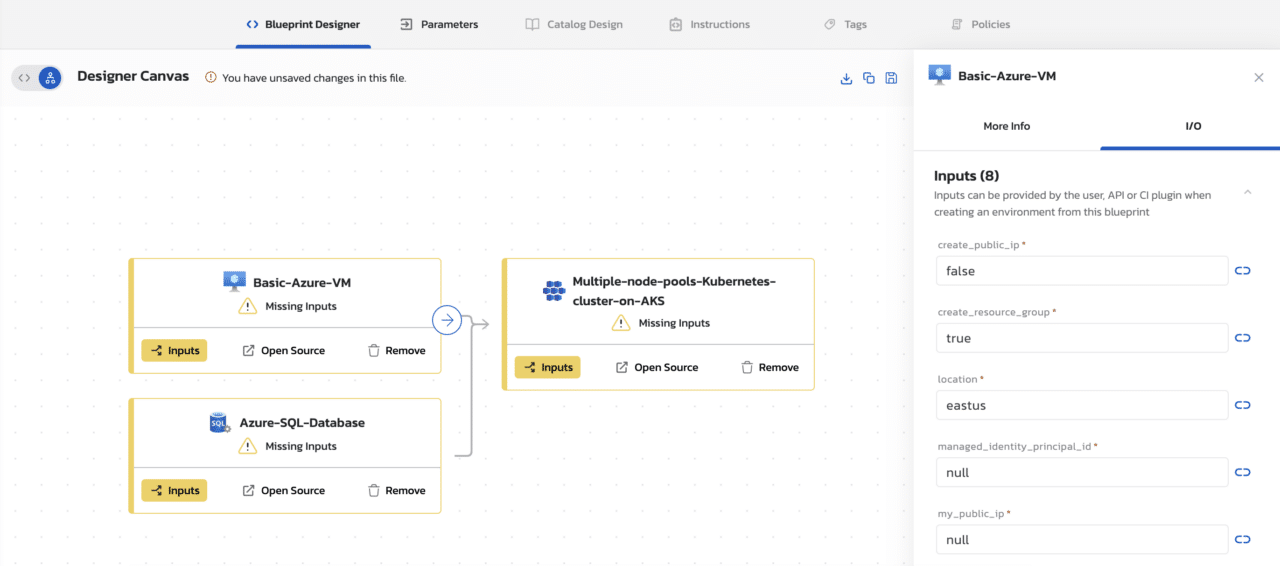
Clicking “Inputs” on each asset will bring up a basic form where you can enter the parameters for each service. For example, if you’re provisioning a VM as part of your environment, the inputs will allow you to set the resource ID, location, instance size, etc.
As you carry out this design process, Torque automatically generates a YAML file defining the complete environment’s deployment plan. If you prefer to edit in code, you can open the YAML view via the view toggle in the blueprint designer.
Step 2. Add your environment blueprint to your Git repository
Once you’ve defined your environment blueprint as a YAML in Torque, you can operationalize it.
For years, this has meant “publishing” the blueprint to the native self-service catalog in Torque, where other users can launch the environment via the Torque UI.
For those who prefer a GitOps approach, adding your environment to your Git repository empowers your teams to launch it on-demand. By committing code in Git, your teams can initiate the deployment plan in the blueprint YAML.
In effect, this approach:
- Simplifies the orchestration of environments by automating the creation of the environment definition
- Eliminates repeat orchestration by creating reusable definitions for frequently used environments
- Improves version control and consistency by enabling your teams to track changes continuously and deploy environments consistently
- Removes friction from the development process by treating environment launches like IaC in a GitOps motion
To learn more, book a demo of Quali Torque today.

